
A single dieffenbachia leaf can’t grow into a new plant. A leaf has no node, the small growth point on the stem where buds wake up and push out new shoots.
Without that bud, a leaf can stay green for weeks, but it has nothing to build a new stem from.
To propagate dieffenbachia from a leaf, you need to take the leaf with a piece of stem that includes at least one node, or skip the leaf entirely and root a bare cane section. Dieffenbachia propagation works through stem tips, cane pieces, air layering, and division, and every one of those methods depends on a node.
Why Can’t a Leaf Alone Become a New Dieffenbachia?
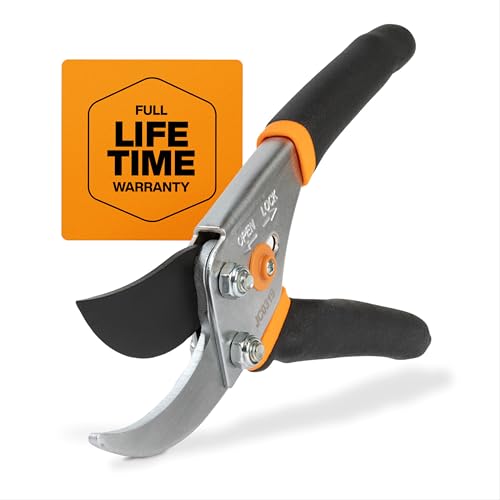
A dieffenbachia leaf lacks the bud tissue needed to make a new stem. Some houseplants, like African violets and snake plants, can grow new plants from leaf tissue. Dumb cane can’t. If you are stocking up, a pair of bypass pruners is the first thing I would pick up.
Dieffenbachia is an aroid, part of the same family as peace lilies and philodendrons. It grows as a single upright cane, with leaves coming out one at a time from the growing tip.
Each leaf attaches to the cane at a node, and the bud sits there on the stem, below where the leaf stalk joins.
When you pull or snip off a leaf, the bud stays behind on the cane. So the leaf you’re holding has:
- A blade that can make food from light for a while
- A leaf stalk (petiole) that might push out a few thin roots
- No bud to make a stem, new leaves, or a crown
That’s why dumb cane propagation always starts with stem tissue. If your goal is to propagate dieffenbachia, my advice is to look at the cane first and the leaves second.
How Do Stem Nodes Make New Growth Possible?
Nodes hold dormant buds that can turn into new shoots, and they’re also where root development tends to start. Once you can find them, propagation becomes a question of where to cut.
How to Spot a Node on a Dieffenbachia Cane
Nodes look like raised rings or bands around the cane. On older, bare stems, you’ll see them as leaf scars, the marks left where old leaves dropped off.
A few clues help you find them:
- Color: The ring is often a lighter green, cream, or slightly yellow shade compared with the rest of the cane.
- Texture: You can feel a slight ridge when you run a gloved finger down the stem.
- Bud bump: On thick canes, a small greenish bump or dimple sits on one side of the ring. That’s the bud.
- Spacing: Nodes sit closer together near the top of the plant and farther apart on older, lower parts of the cane.
Why a Leaf Cutting Needs a Piece of Stem
A leaf with a short section of stem attached is a true cutting, because the stem piece carries the node. The leaf helps by feeding the cutting with light energy while roots form.
If you want to keep a leaf you love, cut below the node it’s attached to, so you get the leaf plus an inch or two of cane. That small chunk of stem is what lets the cutting grow roots and, later, a new shoot.
What Happens if You Put a Dieffenbachia Leaf in Water?
A lone leaf in a glass of water usually stays green for a few weeks, sometimes longer, and then slowly yellows and rots. Water propagation works well for dieffenbachia, but only with stem tissue in the glass.
Why a Leaf May Stay Green Without Making a Plant
The leaf keeps living off the food it stores and makes from light. Its stalk might even push out a few white roots, which convinces a lot of people they’re on the right track.
Those roots can’t help the leaf make a stem, because there’s no bud. Eventually, the leaf uses up its reserves.
The stalk turns soft, the water clouds, and the leaf collapses. I’d skip this experiment unless you’re fine with a short-lived green decoration on the windowsill.
How a Stem Cutting Behaves Differently in Water
A stem cutting with a node submerged does more than survive. Roots grow from the node area, and the bud above the water line can wake up and push new leaves.
For good results in water:
- Use a clean glass and change the water every 3 to 5 days.
- Keep at least one node under water and the leaves above it.
- Place it in a warm room, 70 to 80°F, with bright indirect light.
Cuttings can live in water a long time, and you can grow dieffenbachia in water for months. They grow bigger and stronger after you move them to soil once roots reach 2 to 3 inches.
How to Handle Dieffenbachia Sap Safely
Treat every cut you make on a dieffenbachia as a chance to get sap on your skin. All parts of the plant contain calcium oxalate crystals and irritating proteins.

These needle-shaped calcium oxalate raphides cause burning and swelling when they touch your mouth, eyes, or tender skin.
Protect Your Skin, Eyes, Children, and Pets
Wear gloves for every cut, and long sleeves if your skin is sensitive. Keep your hands away from your face until you’ve washed up.
If sap gets on your skin, wash with soap and cool water. If it gets in your eyes, rinse them with clean water right away and get medical help if the pain or redness doesn’t fade.
In people, chewing the plant causes painful mouth and throat swelling that can make talking hard for a while, which is where the name “dumb cane” comes from. The ASPCA lists dieffenbachia as toxic to cats, dogs, and horses. Signs include:
- Intense burning and drooling
- Pawing at the mouth
- Vomiting
- Trouble swallowing
It’s rarely fatal, but throat swelling that affects breathing is an emergency. Rinse your pet’s mouth with water and call your vet or the ASPCA Animal Poison Control Center at (888) 426-4435 (a fee may apply).
I cover more about dieffenbachia and pets in a separate post.
Clean Up Cuttings and Tools Afterward
Bag leaf scraps and cane trimmings in sealed trash right away. Cut pieces left on the floor are easy targets for curious dogs, cats, and toddlers.
Wipe your blades with rubbing alcohol before you start, between cuts, and when you’re done. That removes sap and lowers the chance of passing bacteria into fresh cuts. Rinse your gloves before taking them off, then wash your hands.
How to Root a Leafy Stem Tip
A stem tip cutting is my top pick for propagating dumb cane, because the leaves on top keep feeding the cutting while it roots. It’s also the best fix for a tall, leggy plant.
Take a Tip Cutting With at Least One Node
Cut 4 to 6 inches of stem below the lowest leaf you want to keep, making sure at least one node sits on the cutting. Make a clean cut with a sharp, sterilized blade.
Then prep the cutting:
- Remove any leaves that would sit under water or soil.
- Keep 2 or 3 healthy leaves at the top.
- If the leaves are huge, trim the largest by a third to cut water loss.
- Let the cut end dry for 30 to 60 minutes.
The stump left in the pot will usually sprout new shoots from the nodes below your cut.
If you cut a leggy cane back to about 6 inches above the soil, just above a node, you’ll get a shorter, fuller plant. It’s one of the easiest ways to make a dieffenbachia bushy.
Choose Water or an Airy Mix for Rooting
Both work. Water lets you watch roots form, while soil propagation produces tougher roots that handle potting better.
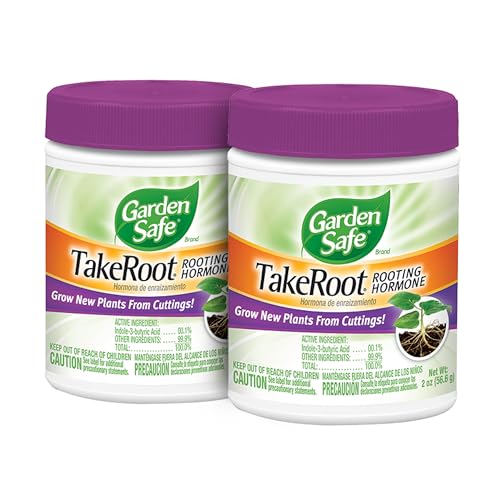
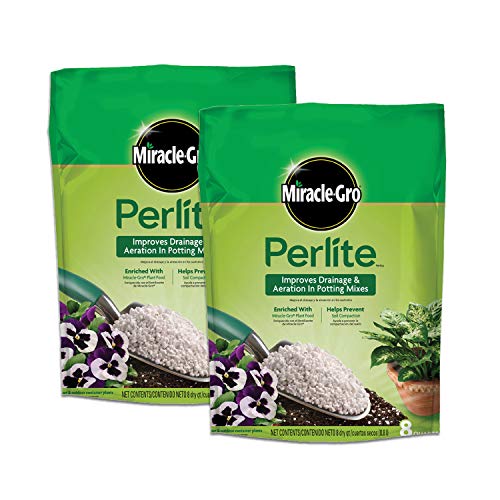
For soil, use a light mix, such as half potting mix and half perlite, in a small pot with drainage holes. Rooting hormone is optional.
Dipping the cut end in a powder before planting can speed things up a bit, but dieffenbachia roots fine without it.
Plant the cutting so the node sits just under the surface, firm the mix, and water lightly. Keep the mix as damp as a wrung-out sponge.
When Are Bare Cane Sections the Better Choice?
Cane sections make sense when your plant has a long, leafless stem and you want several new plants from it. One bare cane can give you four, five, or more starts.
Select Healthy Sections With Viable Nodes
Pick cane that feels firm and solid when you press it. Skip pieces that feel soft, look wrinkled, or have dark, mushy patches, since those are already rotting or drying out.
Each section needs at least one node. A piece of plain stem between nodes can form a callus and even a few roots, but it won’t sprout a shoot. Two nodes per piece give you better odds.
Your propagation medium matters here too. Leafless cane can’t use light yet, so it lives on stored food. A loose, airy rooting medium keeps it from sitting wet while it waits.
Keep Track of the Buds and Stem Orientation
Mark the top end of each section as soon as you cut it. A pencil dot, a small notch, or a piece of tape all work. Stems have a natural top and bottom, and a section planted upside down roots poorly and won’t sprout.
If you plan to lay sections sideways, note which side the buds sit on. You’ll want those buds facing up toward the light.
How to Root a Cane Section Step by Step
Rooting a cane section takes about 15 minutes of work and several weeks of patience. Here’s the method I recommend for the best odds.
Cut and Prepare a Two- to Three-Inch Section
- Put on gloves and wipe your knife or pruners with rubbing alcohol.
- Cut the bare cane into pieces 2 to 3 inches long, each with at least one node. On varieties with widely spaced nodes, pieces up to 4 inches are fine.
- Mark the top of every piece.
- Set the pieces on a paper towel for 30 to 90 minutes so the cut ends dry a little.<