
Strong hydroponic seedlings are the base of every good indoor harvest. If your starts are weak, leggy or waterlogged, your system will struggle no matter how good your pump or lights are.
The good news is that starting seeds without soil isn’t hard. You need a clean medium, steady moisture, the right light, and a little patience.
In this guide, I’ll walk you through each step, from soaking your first cube to moving young plants into their permanent home.
What Makes Hydroponic Seedlings Different
Hydroponic seedlings grow in an inert medium instead of soil, so they get water, air and nutrients directly from you. That gives you more control, and it also means small mistakes show up faster.
No Soil, No Built-In Food
Potting soil holds a small supply of nutrients and some natural buffering. Rockwool, coco coir and other hydroponic media hold very little. Your seedlings depend on the water and nutrients you add.
This isn’t a problem at first. A seed carries enough stored energy to sprout and open its seed leaves. After that, you’ll need to start a gentle nutrient feed.
The upside is a clean start. There are no weeds, no soil-borne pests and no guessing about what’s in the bag. If you’re still deciding whether hydroponic is better than soil, this clean, controlled start is one of the biggest differences you’ll notice.
Seedlings Are Built to Fit Your System
In soil gardening, you can sow seeds in almost any container. In hydroponics, your seedling needs to fit into a net cup, channel or tray later on. That’s why most growers use uniform plugs or cubes.
These plugs slide right into net cups without disturbing the roots. That means less transplant shock and faster growth once the young plant goes into the system.
The Basic Gear You’ll Use
You don’t need much to get started. The two items I recommend most are simple and inexpensive:
- Rockwool starter cubes: Small, uniform cubes made from spun mineral fiber. They hold water and air well and fit standard net cups.
- A seed tray with a humidity dome: A shallow tray with a clear plastic lid. The dome traps moisture so seeds don’t dry out while they sprout.
Add a light source and a simple pH test kit, and you have a working seed-starting setup. If you’re brand new to all of this, my guide on how to start hydroponic gardening covers the bigger picture.
Choosing a Starter Medium
The best starter medium is one that holds moisture and air evenly and fits your system. For most home growers, rockwool cubes or peat plugs are the easiest choice.

Comparing the Common Options
Each medium has strengths and weak spots. Here’s a quick side-by-side look.
| Medium | Water Holding | Prep Needed | Best For | Watch Out For |
|---|---|---|---|---|
| Rockwool cubes | High | Soak in pH-adjusted water | Most systems, especially DWC and NFT | High pH if not soaked; easy to overwater |
| Peat plugs | Medium to high | Pre-moisten | Beginners, Kratky, small systems | Can break apart in water over time |
| Coco coir plugs | Medium | Rinse or buffer if needed | Drip and ebb and flow | Quality varies; may need calcium and magnesium |
| Clay pebbles | Low | Rinse well | Larger transplants, not tiny seeds | Seeds fall through gaps |
| Perlite | Low | Rinse to remove dust | Mixing with coir | Dries out fast on its own |
Why I Usually Start With Rockwool
Rockwool is my top pick for most people. The cubes are uniform, hold a good balance of water and air, and drop straight into net cups. They also don’t break down in the reservoir.
The catch is that rockwool starts out with a high pH. You need to soak it before sowing, which I’ll cover below. It also irritates skin and lungs when dry, so wear gloves and handle it damp.

When Other Media Make Sense
Peat plugs are forgiving and easy for beginners. They work well in small setups, but they can crumble in systems with lots of moving water.
Coco coir is a good fit for drip and ebb and flow systems. Clay pebbles and perlite are better as support around transplants than as a seed bed. Tiny seeds simply slip through the gaps.
Setting Up a Seedling Station
A good seedling station is a warm, clean spot with a tray, dome, strong light and easy access to water. Set it up before you sow, so your seeds get steady conditions from day one.

Pick the Right Spot
Choose a place indoors with steady room temperature. Most common crops sprout well between about 65 and 75°F. Peppers and tomatoes like the warmer end of that range.
Avoid cold windowsills, drafty doorways and spots right next to heaters. Temperature swings slow germination and stress tiny plants.
A shelf, a tabletop or a spare corner works fine. It should be near an outlet and easy to reach, because you’ll check it every day.
Lighting for Seedlings
Seedlings need bright light as soon as they sprout. A window is often too weak, especially in winter. Full-spectrum LED grow lights give much more reliable results.
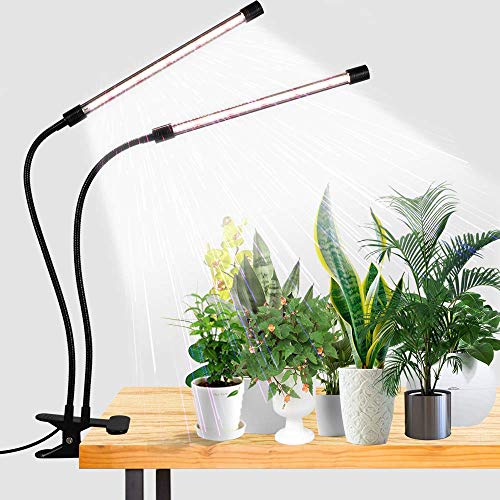
For leafy greens and herbs, aim for 12 to 16 hours of light a day. Fruiting crops like tomatoes and peppers do well with 14 to 18 hours. A simple outlet timer keeps the schedule steady.
Hang the light close, but follow the manufacturer’s height guide. If you need help picking a fixture, my roundup of the best grow lights for indoor plants explains what to look for.
Safety and Small Extras
Water and electricity sit close together in any hydroponic setup. Plug lights, heat mats and pumps into GFCI outlets. Leave a drip loop in each cord, so water runs off the low point instead of into the plug.
A few extras make life easier:
- A small fan for gentle airflow once seeds sprout
- A spray bottle for misting
- A pH meter or test kit, plus pH up and pH down
- Plant labels and a marker
- A seedling heat mat for warm-loving crops (optional)
Sowing Seeds Step by Step
To sow hydroponic seeds, soak your plugs, place two or three seeds in each hole, cover the tray with a dome, and keep it moist and warm. Here’s exactly how I recommend doing it.
Step 1: Prepare and Soak Your Plugs
Start with clean trays and tools. A rinse with warm, soapy water followed by a clean-water rinse is enough for most setups.
Next, adjust a bucket of water to about pH 5.5. Soak your rockwool cubes in it for about an hour, or follow the package directions. This lowers the cube’s naturally high pH and wets it evenly.
Lift the cubes out and let the extra water drain. Give them a light shake if needed. Don’t squeeze hard, because that crushes the fibers and removes the air pockets roots need.
Peat plugs just need a soak in plain, pH-adjusted water until they swell. Coco plugs may need a rinse, depending on the product.
Step 2: Place the Seeds
Most cubes and plugs have a small hole on top. Drop two or three seeds into each one. Extra seeds cover you if a few don’t sprout, and you can thin later.
Planting depth depends on seed size. A good rule is to plant a seed about two to three times as deep as it is wide. Tiny seeds should sit just below the surface.
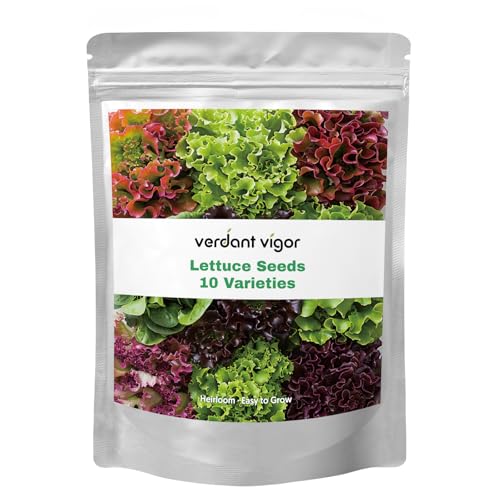
Some seeds, like lettuce, need light to germinate. Leave them uncovered or barely covered. For larger seeds like peppers and tomatoes, pinch a little rockwool over the hole.
Step 3: Cover, Label and Wait
Set the plugs in your seed tray and add the humidity dome. Label each row with the crop and date. You’ll thank yourself later when every sprout looks the same.
Keep the tray warm. Most seeds don’t need light until they sprout, but you can turn the light on early with no harm. Check daily for moisture and the first signs of green.
Here’s a quick look at typical sprouting times for popular crops:
| Crop | Typical Sprouting Time | Notes |
|---|---|---|
| Lettuce | 2 to 7 days | Needs light to sprout; dislikes heat |
| Arugula | 2 to 5 days | Very fast and easy |
| Kale | 4 to 7 days | Reliable starter crop |
| Basil | 5 to 10 days | Likes warmth |
| Cilantro | 7 to 14 days | Slow and uneven |
| Tomatoes | 5 to 10 days | Prefers warm conditions |
| Peppers | 7 to 21 days | Slow; a heat mat helps |
If you’re still choosing what to grow, my list of the best plants for hydroponics is a great place to start. Leafy greens and herbs are the easiest first crops.
Water, Light and First Nutrients
Keep plugs moist but not dripping, give strong light as soon as seeds sprout, and start a quarter- to half-strength nutrient feed once the first true leaves appear. Getting this balance right prevents most seedling problems.

Watering Without Drowning
Seedling plugs should feel like a wrung-out sponge. They should be damp all the way through, but never dripping or sitting in a puddle.
Too much water pushes out air, and roots need oxygen. Constant wetness also invites mold and damping-off. Too little water can kill a sprouting seed in a single day.
I recommend bottom watering. Pour a small amount of pH-adjusted water into the tray, let the plugs soak it up for 10 to 20 minutes, then pour off the extra. A light misting on top helps tiny seeds stay damp.
Once most seeds sprout, remove the humidity dome. Leaving it on too long traps moisture and encourages fungus. If your air is very dry, you can crack the dome open for a day or two first.
Light Once They Sprout
The moment seedlings break through, they need bright light. Wea