
Learning how to save seeds from vegetables is one of the most satisfying skills a home gardener can pick up. You grow a plant you love, collect its seeds, and plant them again next spring.
It saves money, and it connects you to your garden in a deeper way.
The good news is that you don’t need special training or fancy equipment. A few easy crops, some paper envelopes, and a little patience will get you started.
In this guide, I’ll walk you through which seeds to save, how to collect them, and how to store them so they sprout next season.
Why Save Your Own Seeds
Saving your own seeds cuts costs, gives you plants adapted to your garden, and preserves varieties you love. Once you understand how to save seeds from vegetables, you’ll rarely need to buy packets for your favorite crops again.
Save Money Every Season
Seed packets add up fast, especially if you grow several varieties. One healthy tomato or bean plant can give you more seeds than you could plant in a year. That means free seed for yourself and extra to share.
If you’re still deciding how to start your crops, my guide on seeds vs. plants explains the trade-offs. Saved seeds tip the math heavily in favor of starting from seed.
Seed saving also fits neatly into zero-waste gardening. You reuse what your garden already produces instead of buying new packets wrapped in plastic. Pair it with composting and collecting rainwater, and your garden becomes much more self-sufficient.
Grow Plants Suited to Your Garden
When you save seeds from your best plants year after year, you slowly select for traits that thrive in your conditions. Over time, those plants can become better matched to your soil, climate, and growing season.
My advice is simple. Save seeds from your healthiest, most productive plants, not just the first fruit you pick. Look for plants that resisted disease, tasted great, and handled heat or cold well.
Gear You’ll Actually Use
You don’t need much, but two items make seed saving easier. Paper seed storage envelopes let you label each variety and keep seeds organized. A seed storage box, ideally airtight, keeps those envelopes cool, dry, and protected from pests.

Beyond that, you’ll want a few basics:
- Small glass jars for fermenting tomato seeds
- A fine-mesh strainer
- Paper plates or coffee filters for drying
- A permanent marker for labels
- Small silica gel packets to absorb moisture
Open-Pollinated, Heirloom and Hybrid Seeds
Open-pollinated and heirloom seeds grow plants very similar to the parent, while F1 hybrid seeds do not. This is the most important concept in seed saving, so it’s worth understanding before you collect anything.

Open-Pollinated Seeds
Open-pollinated plants are pollinated naturally by insects, wind, birds, or by themselves. When they are pollinated by the same variety, their seeds “breed true.” That means the next generation looks and tastes like the parent plant.
These are the seeds you want for saving. Seed packets often label them as “OP” or “open-pollinated.” If you aren’t sure, check the catalog description before planting.
Heirloom Seeds
Heirlooms are open-pollinated varieties that have been passed down for generations. Many have been grown for decades, often by families or communities that saved seed every year.
Every heirloom is open-pollinated, but not every open-pollinated variety is an heirloom. Both are great for saving. Heirlooms are popular because of their unique flavors, colors, and stories.
F1 Hybrid Seeds
F1 hybrids come from crossing two different parent varieties on purpose. The first generation shows a reliable mix of traits, such as disease resistance or uniform fruit. But their seeds do not breed true.
If you plant seeds saved from an F1 hybrid, the offspring can vary widely. Some may resemble one grandparent, others a mix you didn’t expect. Here’s a quick comparison:
| Seed Type | Breeds True? | Good for Saving? | Common Label |
|---|---|---|---|
| Open-pollinated | Yes, if not crossed | Yes | “OP” |
| Heirloom | Yes, if not crossed | Yes | “Heirloom” |
| F1 Hybrid | No | Not recommended | “F1” or “Hybrid” |
Easiest Vegetables for Seed Saving
Tomatoes, peppers, beans, peas, and lettuce are the easiest vegetables for beginners. They mostly self-pollinate, so they rarely cross with other varieties, and their seeds are simple to collect.

Self-Pollinating Crops
Self-pollinating plants have flowers that pollinate themselves, often before the bloom even opens. This keeps the variety pure without much effort from you.
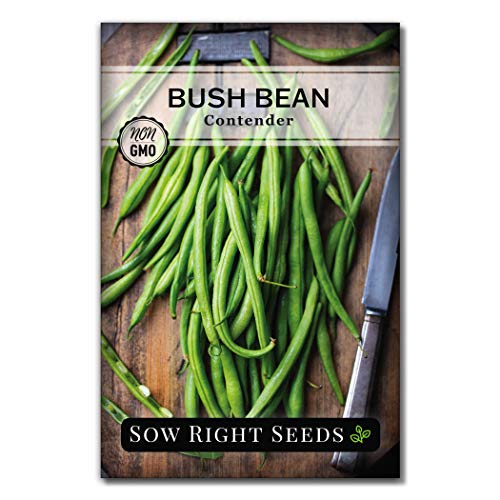
Beans, peas, and lettuce are classic self-pollinators. Tomatoes and peppers mostly self-pollinate too, though insects can occasionally cause crosses. For a first year, these five crops give you the best odds of success.
If you’re new to growing these crops, my guide to starting a vegetable garden in your backyard covers the basics of space, soil, and sun.
Crops to Save Later
Some vegetables are trickier because they cross-pollinate easily or take two years to make seed. I recommend waiting until you have a season or two of experience before trying them.
| Vegetable | Difficulty | Why |
|---|---|---|
| Tomatoes | Easy | Mostly self-pollinating; needs fermenting |
| Beans | Easy | Self-pollinating; dries on plant |
| Peas | Easy | Self-pollinating; dries on plant |
| Lettuce | Easy | Self-pollinating; seeds are small |
| Peppers | Easy to moderate | Insects can cross varieties |
| Squash and cucumbers | Moderate | Insect-pollinated; cross readily |
| Corn | Moderate to hard | Wind-pollinated; crosses easily |
| Cabbage family | Hard | Insect-pollinated; most are biennial |
Plan Your Garden for Seed
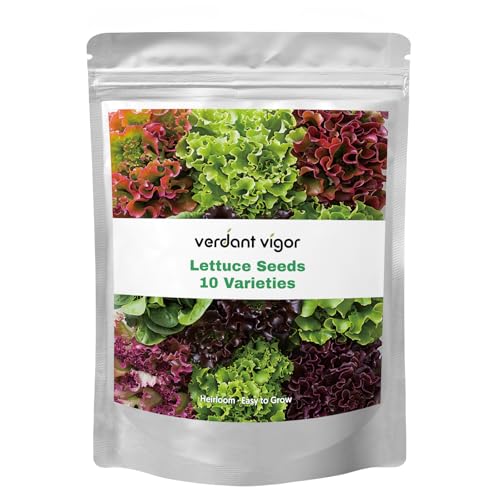
When you plan to save seed, leave plants in the ground longer than usual. Beans and peas need to dry on the vine. Lettuce must bolt and flower before setting seed.
That means a few plants will tie up space for weeks. Many of these crops also appear on my list of easy vegetables for raised beds, so a raised bed is a handy place to set aside a seed corner.
How to Save Tomato Seeds
To save tomato seeds, scoop them from a fully ripe fruit, ferment them in water for 2 to 4 days, then rinse and dry them. Fermenting removes the gel coating and helps reduce some seed-borne diseases.
Pick the Right Tomato
Choose a fully ripe, even slightly overripe, tomato from a healthy open-pollinated or heirloom plant. Avoid fruit from plants that showed disease. Picking from several plants of the same variety helps keep a broader mix of traits.
Cherry tomatoes and full-size slicers both work. If you love quick harvests, cherry tomatoes are among the fast-growing summer vegetables that produce seed-ready fruit early in the season.
Ferment the Seeds
Each tomato seed sits inside a gel sac that can slow germination. Fermentation breaks down that gel naturally. Here’s how I recommend doing it:
- Cut the tomato in half across its middle.
- Squeeze or scoop the seeds and gel into a small jar.
- Add a little water, roughly equal to the amount of pulp.
- Cover the jar loosely with a paper towel or cloth.
- Label the jar with the variety name.
- Set it somewhere warm and out of direct sun for 2 to 4 days.
- Stir once a day.
A layer of white or gray mold will form on top. That’s normal and part of the process. It also smells unpleasant, so keep the jar away from your kitchen table.
Rinse and Dry
When the mold covers the surface and seeds sink to the bottom, it’s time to clean them. Viable seeds usually sink, while empty or weak seeds float.
Pour off the mold, floaters, and pulp. Add fresh water, swirl, and pour off again until the good seeds look clean. Then dump them into a fine strainer and rinse well.
Spread the seeds in a thin layer on a paper plate or coffee filter. Avoid paper towels, since seeds stick to them. Let them dry 1 to 2 weeks in a warm, airy spot, stirring them now and then to prevent clumping.
Saving Pepper, Bean, Pea and Lettuce Seeds
Pepper seeds come from fully mature fruit, beans and peas dry right on the plant, and lettuce seeds are collected after the plant bolts. None of these crops need fermenting, which makes them even easier than tomatoes.
Pepper Seeds
Let the peppers ripen fully to their mature color, whether red, yellow, orange, or another shade. Green bell peppers are usually unripe, and their seeds may not be mature. Waiting until the fruit starts to wrinkle slightly is even better.
Cut the pepper open and scrape the seeds off the central core onto a plate. Let them dry 1 to 2 weeks. When working with hot peppers, wear gloves and avoid touching your eyes or face.
Bean and Pea Seeds
Beans and peas are the simplest seeds to save. Just stop picking a few plants and let the pods dry on the vine. The pods turn tan or brown, feel papery, and the seeds rattle inside.
Pick the dry pods and shell them by hand. If rain threatens before pods are fully dry, pull the whole plant and hang it upside down in a dry, sheltered spot to finish.
Spread the shelled seeds out for another week or two to make sure they’re completely dry. A good test is to tap a bean with a hammer. If it shatters, it’s dry. If it dents or mashes, it needs more time.
Lettuce Seeds
Lettuce makes seed after it bolts, sendin