
A dahlia tuber is a storage root that is roughly 80 percent water, and it has no dormant shell like a tulip bulb. Stored too warm or too dry, it shrivels.
Stored too wet or too cold, it rots. So: dig it after the first frost, let the skin set for a few days, and keep it at 40 to 50°F in a lightly damp packing material until spring.
The rule: keep tubers cool, dark and barely damp, and look at them once a month.
| Setting | Target | What changes it |
|---|---|---|
| When to dig | 7 to 14 days after frost blackens the leaves | Dig at once if a hard freeze (below 25°F) is forecast |
| Stem length left | 4 to 6 inches | Shorter stems let water into the crown |
| Curing time | 1 to 3 days, frost-free | Up to a week in humid air |
| Storage temperature | 40 to 45°F ideal, 50°F at most | Below 32°F freezes, so treat 35°F as the floor. Above 55°F, sprouts start early |
| Storage humidity | About 75 to 85 percent | Drier basements need a damper packing medium |
| Packing medium | Peat moss, vermiculite, wood shavings or coarse sand | Must feel barely damp, never wet |
| Inspection | Every 3 to 4 weeks | Weekly if any rot shows up |
| Replant | After last frost, soil at 60°F | Pot up indoors 4 weeks earlier in short seasons |
Dig Only After the Foliage Is Killed
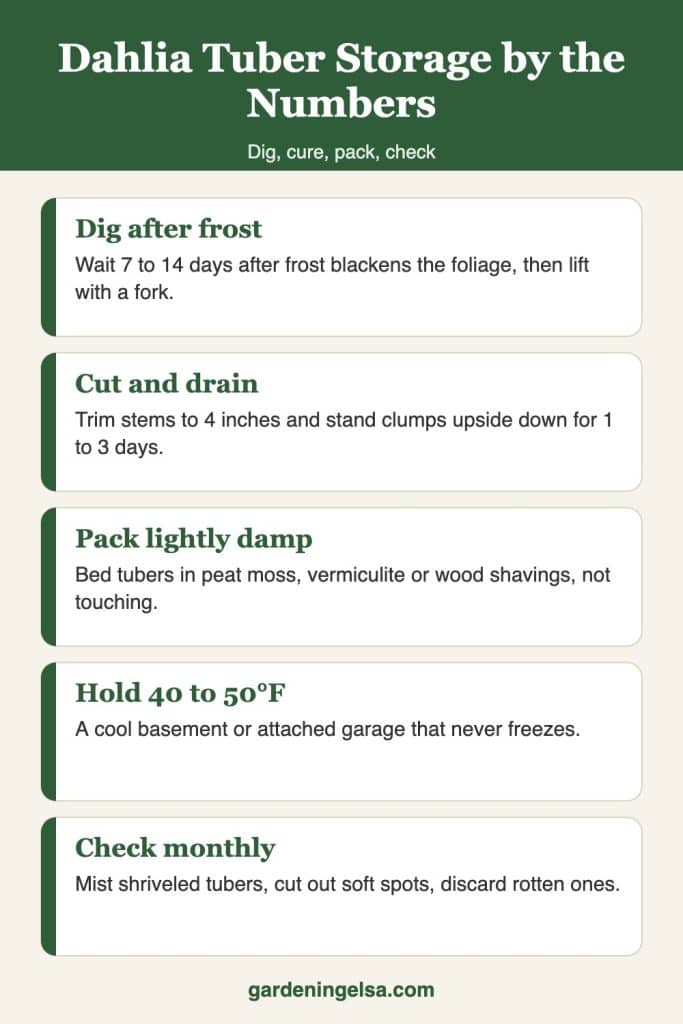
Frost ends the season, but it is not the signal to dig on the same day. Wait 7 to 14 days after the leaves blacken.
During that time the tuber skin thickens and the eyes at the crown mature, and both make the tuber store far better.
Use a garden fork, not a spade. Push it in about 12 inches from the main stem, all the way around, and lever the clump up slowly.
A dahlia clump spreads farther than you expect, and a single fork tine through a tuber neck ruins it.
If the ground is about to freeze solid, or a night below 25°F is forecast, dig at once. A tuber left in frozen soil is lost, while a slightly immature one usually survives.
In Zones 8 to 10 you can skip digging. Cut the plant down and spread 4 to 6 inches of mulch over the spot.
In Zone 7 it comes down to drainage: in sandy soil, tubers often survive. In heavy clay, cold wet soil rots them before spring.
Clean and Cut Without Opening the Crown
Shake off the loose soil by hand. You can rinse clumps gently with a hose, which makes rot easier to see, or leave them dirty, which keeps the skin a little more protected.
Both work. What matters is that the clump is completely dry before packing.
Cut the stems back to 4 to 6 inches with clean bypass pruners. The stem is hollow. Cut it too short and water collects right at the crown, which is where the eyes are and where rot starts.
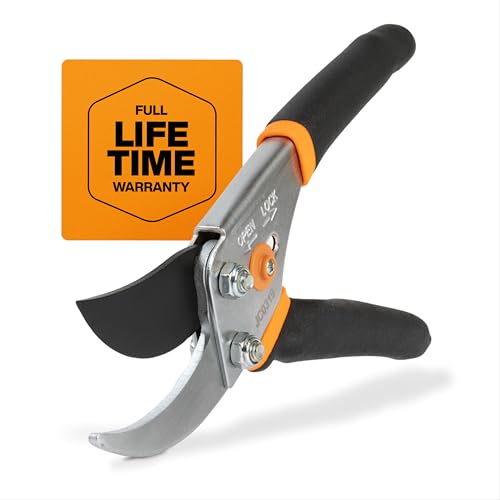
Then stand each clump upside down for a day so water drains out of the hollow stems. A clump stored with water sitting in the stem often rots from the inside before you see anything on the surface.
Cure for a Few Days, Then Pack
Curing means letting the surface dry until the skin feels papery. Set the clumps somewhere frost-free, out of sun and wind, at about 50 to 60°F. One to three days is normal. In a humid garage, give them up to a week.
Don’t push it past that. A tuber that sits out for two weeks starts to shrivel, and shriveled tubers rarely plump back up fully.
Use a three-part test on every tuber before it goes in the box. Squeeze it: it should feel as firm as a raw potato, with no give.
Check the neck: it should be unbroken and thicker than a pencil, because pencil-thin necks usually dry out and snap by spring. Look at the crown for an eye or the bump where one will form.
A tuber that fails any of the three isn’t worth storage space.
Packing follows a simple order:
- Line a cardboard box, a plastic crate or a bin with 2 inches of packing medium.
- Lay tubers in a single layer, close but not touching, so rot can’t spread from one to the next.
- Cover with another inch of medium, then add the next layer.
- Leave the lid loose, or punch a few holes in a plastic tub, so moisture can escape.
- Write the variety name on each clump with a permanent marker, or tuck a label in beside it.
Choose the Packing Medium for Your Storage Spot
The packing medium does one job. It buffers moisture, so the tuber neither dries out nor sits wet.
Peat moss is the standard choice. It holds moisture well and suits a dry, heated basement. Moisten it until it feels like a sponge that has been wrung out completely. If you squeeze a handful and water drips, it is too wet.
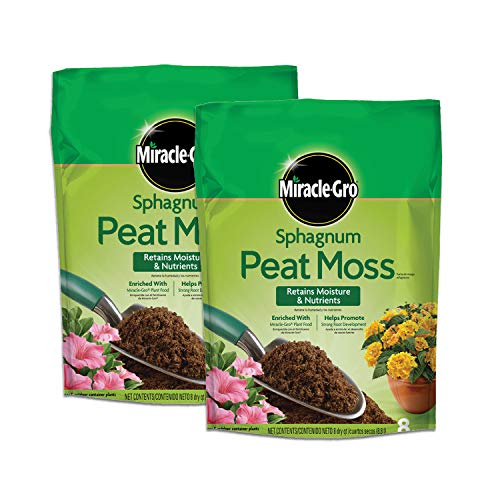
Vermiculite is cleaner to handle. Used barely damp, it works like peat. Used dry, it soaks up moisture from a tuber that starts to sweat, which is why it suits damp spaces. Use the coarse horticultural grade.
Wood shavings (untreated pine, the kind sold as pet bedding) stay drier and suit a humid cellar or crawl space. Coarse builder’s sand works too, but a full bin is heavy.
Another option is to wrap each tuber in plastic wrap. It keeps them plump and saves space. The drawback is that any rot stays sealed in with the tuber, so only wrap pieces that are perfectly clean and fully cured.
Where to Keep the Box
The best spot in most US homes is an unheated basement that stays between 40 and 50°F. Next best is an attached garage against the house wall, as long as it never drops below 35°F.
A thermometer left in the spot for a week in December tells you more than any guess.
Match the medium to the room. A garage or cellar that feels damp calls for vermiculite or wood shavings in a cardboard box, which lets extra moisture escape. A dry, heated house calls for damp peat in a plastic tub with the lid cracked open.

A heated basement near the furnace usually runs 60°F or warmer. Tubers stored there wake up in February and send out long, pale sprouts.
If that is the only place you have, use a damper medium and a cooler corner, or set the box on the floor, which is colder.
Don’t use the refrigerator except for a handful of tubers, and only in a crisper drawer you aren’t using for fruit. Apples and pears give off ethylene gas, which can damage the eyes.
How Much Room for Error
Temperature has the narrowest margin. A single night at 28°F in the box usually turns tubers to mush. Weeks at 55°F mostly just cause early sprouting, which you can manage.
Moisture has a moderate margin. Slightly dry tubers wrinkle but usually still sprout. Wet tubers rot, and the rot spreads.
Timing has the widest margin. Digging a week early or late rarely matters, except before a hard freeze.
Field note: a firm tuber with a sound neck and a visible eye will grow even if it looks small and ugly. A big tuber with a broken neck won’t, however healthy it looks.
Check Once a Month
Open the box every 3 to 4 weeks and look at each clump.
Shriveled or wrinkled tubers have dried out. Mist the medium lightly with water, not the tubers directly, and close the lid a little more.
A soft brown spot is the start of rot. Cut it out with a clean knife back to firm white flesh, dust the cut with a little cinnamon or sulfur powder, and let it dry before repacking.
Mushy, foul-smelling tubers go straight in the trash, along with the medium around them.
White fuzzy mold on the surface usually wipes off. If the tuber underneath is still firm, it’s fine. Just let the box breathe more.
Early pale sprouts in late winter mean the spot is too warm. Move the box somewhere cooler, or pot the tubers up early and grow them on in a bright window.
Divide in Fall or Spring
You can divide clumps right after digging, before curing, while the skin is still soft and cuts cleanly. Or you can wait until spring, when the eyes swell and are easier to see. Fall division saves storage space. Spring division saves mistakes.
Either way, each division needs three parts: a piece of the old crown with at least one eye, an intact neck, and a firm tuber. Cut with a sharp, clean knife, and let the cut surfaces dry for a day before packing or planting.
When spring comes, replant once the soil reaches 60°F, usually 1 to 2 weeks after your last frost. Our complete guide to growing dahlias covers planting depth, staking and feeding.
Other Tender Plants That Store the Same Way
Cannas and elephant ears like it a little warmer and drier, around 45 to 60°F, and tuberous begonias store dry at 40 to 50°F. Tender plants in containers have a different set of options, covered in how to overwinter potted plants.
Hardy spring bulbs are the opposite case. Tulips, daffodils and crocus belong in the ground through winter, so plant them in fall instead of storing them (see the fall bulb planting guide).
The Checklist for Storage Day
- Frost has blackened the leaves at least a week ago, or a hard freeze is coming.
- Clumps lifted with a fork from 12 inches out, no broken necks.
- Stems cut to 4 to 6 inches and drained upside down.
- Cured 1 to 3 days at 50 to 60°F, out of sun.
- Packed in a single layer in barely damp medium, tubers not touching.
- Every clump labeled.
- Box placed where a thermometer reads 40 to 50°F.
- First inspection on the calendar for 4 weeks out.
Technical Questions About Storing Dahlia Tubers
Can you store dahlia tubers without any packing medium?
In a cellar with naturally high humidity, around 80 percent, bare tubers in an open crate can keep. In most homes the air is too dry and bare tubers shrivel by February. A medium is cheap insurance.
How long can dahlia tubers stay in storage?
One winter. A tuber held over a second year usually dries out or loses its eye, so plant it or divide it in spring.
What if the ground froze before I dug them?
Dig as soon as the soil thaws. Firm tubers are fine. Soft, watery or translucent ones were reached by the freeze and won’t recover.
Should I dust tubers with sulfur or fungicide before storing?
Only on cut or damaged surfaces, where rot gets in. Whole, well-cured tubers with intact skin don’t need it.
Can I overwinter dahlias in their pots instead of digging?
Yes. Some gardeners grow dahlias in pots and move the whole pot into a 40 to 50°F garage or basement for winter. Keep the soil almost dry, with just a splash of water once a month. It takes more space but skips digging and cleaning entirely.

Hello there! I’m Elsa, and gardening is my passion. As an avid gardener, I created GardeningElsa.com to share my knowledge and experience with fellow enthusiasts. My website is a comprehensive resource for gardeners of all levels, offering expert advice on a wide range of topics, including plants, flowers, herbs, and vegetable gardening. Whether you’re a beginner looking to start your first garden or a seasoned pro seeking to expand your knowledge, GardeningElsa.com has something for everyone. Read more about me.